Hi, again, teledan. I'm not sure if the Orvis Superfine is quite the same? It looks like the whipping may have been built up into a cone whilst I think on the F&F the thread actually runs up to cover the cork. I don't have a specimen of either so don't take my word for it, though!
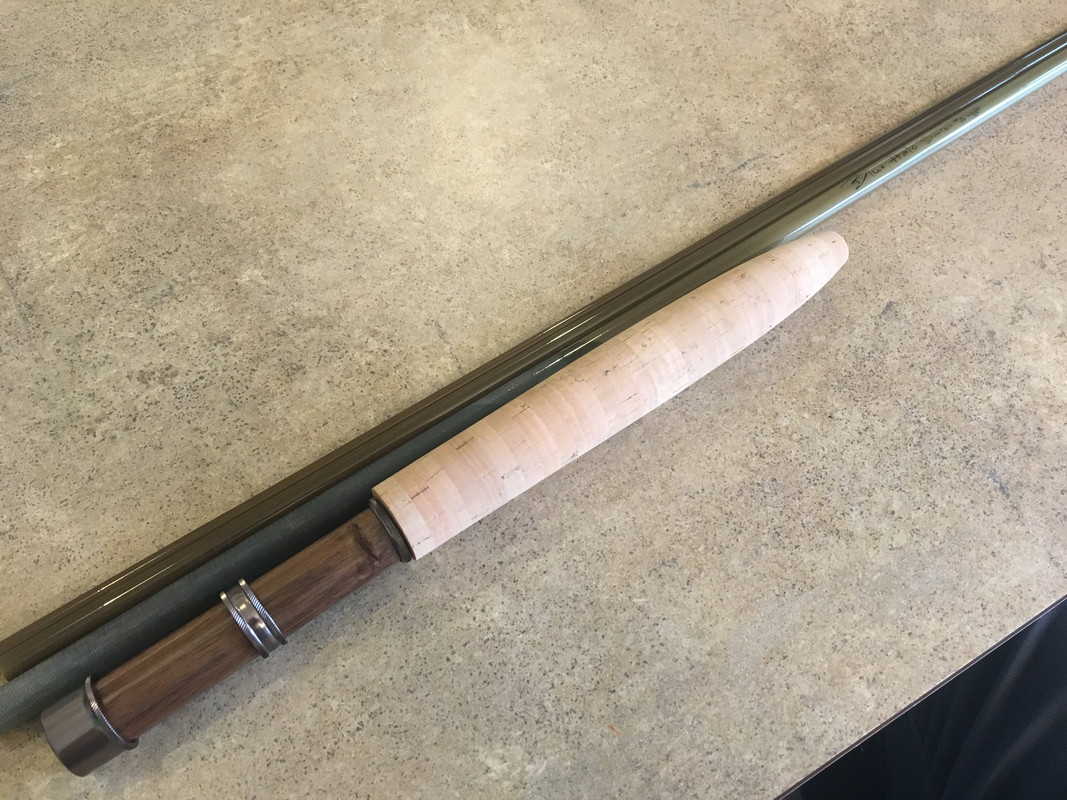
If you have a pair of calipers (cheap digital one are just a few dollars and an invaluable tool) you can accurately gauge how far back you'll have to sand the grip to get the OD to match the w/c. Mark that point with a strip of tape.
You might now try a wee grip test, i.e. put enough masking tape on the butt section to hold the reel seat in place, slide the cork down, put on your reel on and put the sections together (I now always tape the female ferules before any 'wiggle test' to add a bit of hoop strength and prevent inadvertently splitting/cracking the blank - once bitten!).
It's not perfect as ideally you'd run the head of the line up and out of the tip ring as if fishing (if you tape on a few guides and the tip ring you can still do this) but it will give a reasonable idea of a final point of balance and whether you can afford to lose the top of the grip to, essentially, aesthetics.
I can't help you re: Threadmaster but sasquatch7 recommends it above. Google ''Threadmaster rodbuilding forum'' or similar for others' views if in doubt.
If you just want to know what colour a non-colourfast thread will turn under epoxy without actually applying it just wet a whipping and it will darken appropriately. Final colour will depend on the underlying blank colour, of course.
I'd say by all means, forego the w/c if you want to. Providing the thread will cover any gap between the blank and the top of the grip you'll be fine. The only issue I've seen is when folk stick the fly in the cork between use and it nibbles away, but that happens with a check, too.
However, El jeffe is spot on about epoxy seeping into the cork. It's hard to avoid, hard to remove and ugly if left.
An off the cuff solution might be to make a 'washer' out of masking tape to protect the nose from the resin, removing it after about 15 minutes. If you're careful when applying that might be sufficient drying time to allow its removal before it sticks permanently or disturbs the dressing on the wrap on removal - but I'm guessing here.
Given any bevel on the nose, and the need to repeat for each coating, a 'split washer' may work best. It will lie tighter, better, over any curve and be easier to lift off too. Again .... guessing.
")
What else? Use heat glue on the tip ring, it makes any final alignment easy - a quick flash with a lighter and you can re-position it numerous times.
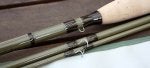
Check every guide for burrs and file down the toes if necessary to avoid any big step up. This can be problematic with TiCH or black eyes as the shiny metal beneath gets exposed and can show through the whippings. I've got around this with a dab from a black permanent marker but there is then the risk of the ink leaking into the threads when you add the epoxy. Life's never easy, is it?
Finally, try and make each whipping on each guide leg exactly the same for each guide size, diminishing that length as you move up the rod. Again, the digital calipers are very useful here. The symmetry will really pay off visually when it's done.
No, it is all fun, honest!